Look closer: plackets, seams, zips and hems in garment photographs
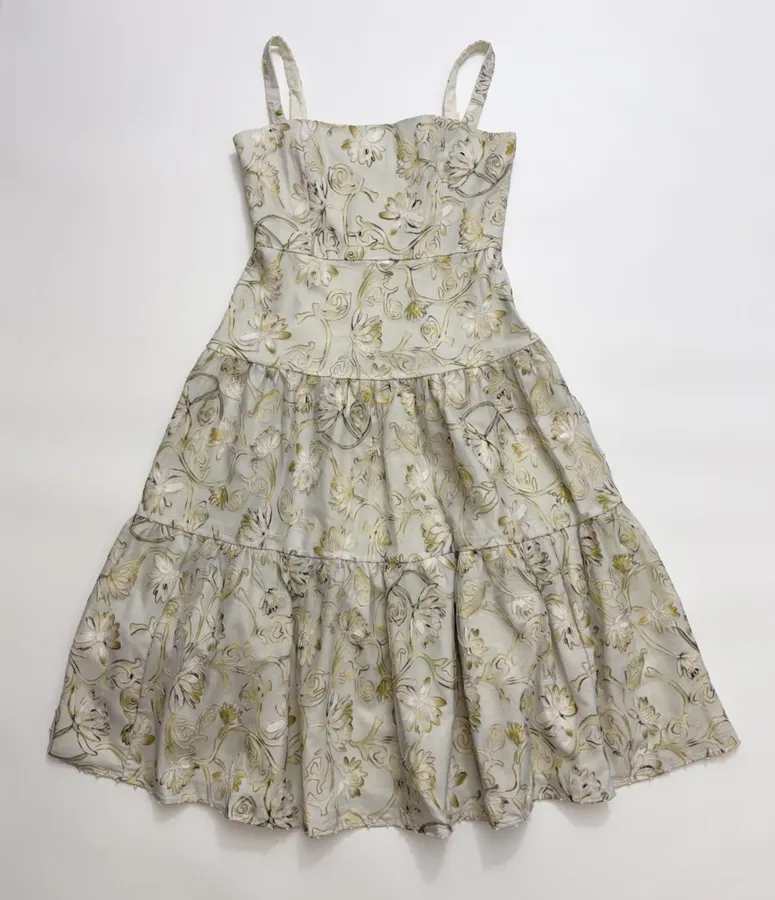
The full-length photograph gives you the outline. A closer view can explain why that outline looks the way it does: a firm front opening, a gathered seam or a narrow edge at the hem. Move between those views before making a judgment about the garment.
A photograph is evidence of what is visible in that frame. It cannot establish how every seam feels, how a zip runs or how a finish will wear over time. Use the details to form specific questions, rather than treating one neat close-up as a complete quality verdict.
Sources:Current WeftKind product photographs and visible garment-construction details.
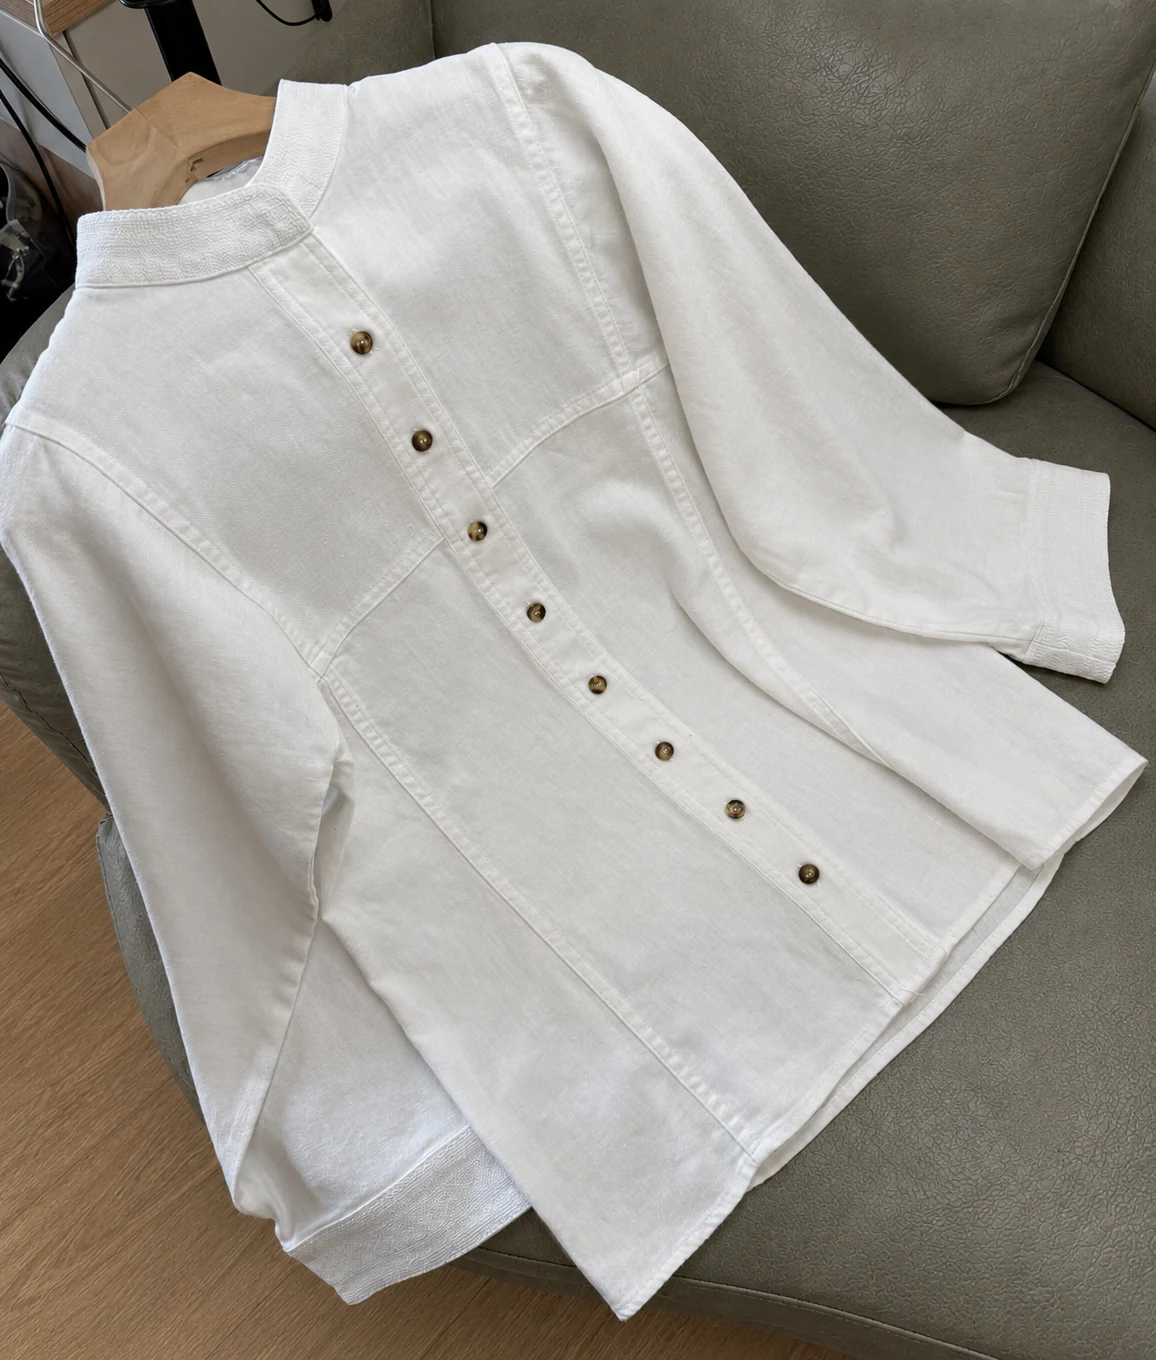
Follow the line of the front opening
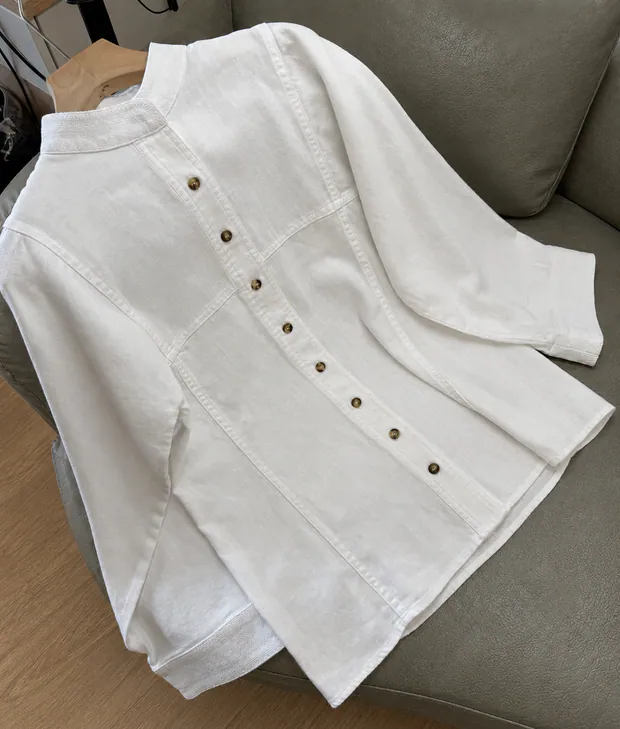
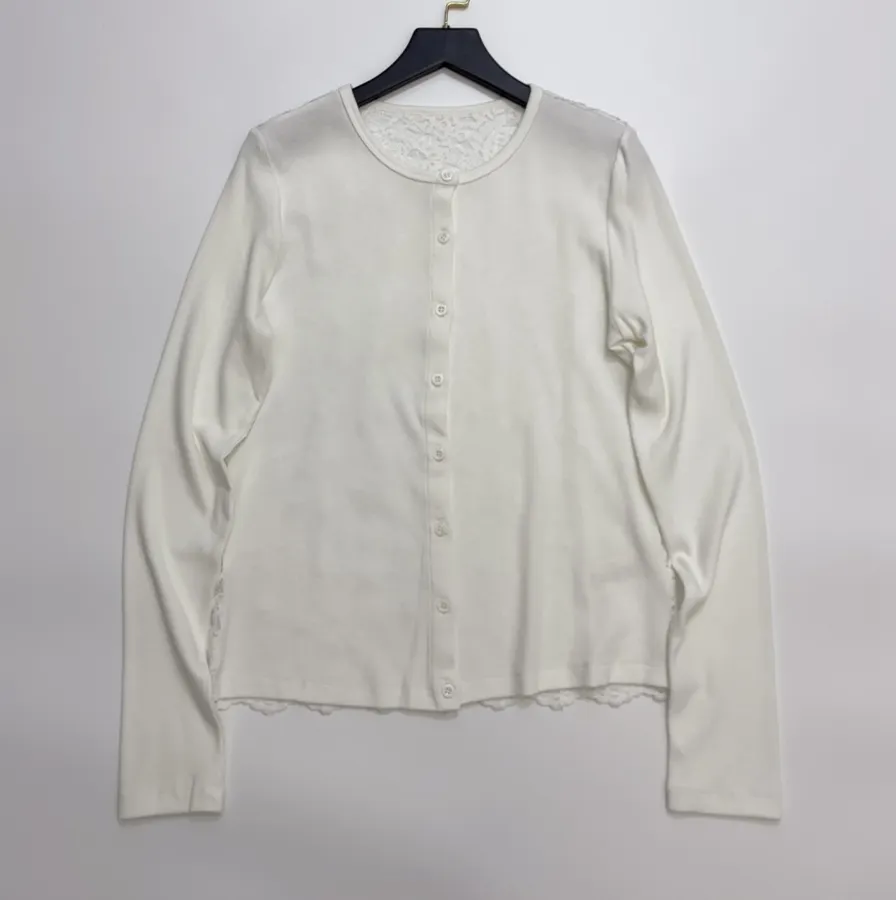
On a buttoned shirt or cardigan, look along the placket from the neckline down. Notice the button spacing, the shape of the opening and any deliberate gathers or folds. Then return to the full view to see how those details relate to the cut.
If the front seems to pull between buttons, another angle may help distinguish the styling or fit on the model from the construction itself. Ask for a flat view with the garment fastened if you need to understand the shape. A loose, soft front should not be judged against the appearance of a stiff tailored one.
Find where the panels meet
Look for shoulder, side and waist seams, and check how they continue across the available photographs. A close-up of the inside is useful when the finish matters to you, particularly around a neckline or an unlined section that may touch the skin.
Overlocking, binding and enclosed seams can look quite different. Their presence alone does not rank the garment from poor to good; the appropriate construction depends on the design and material. When the photograph is too small to identify the finish, request a clearer view instead of guessing a technique.
See the zip in context
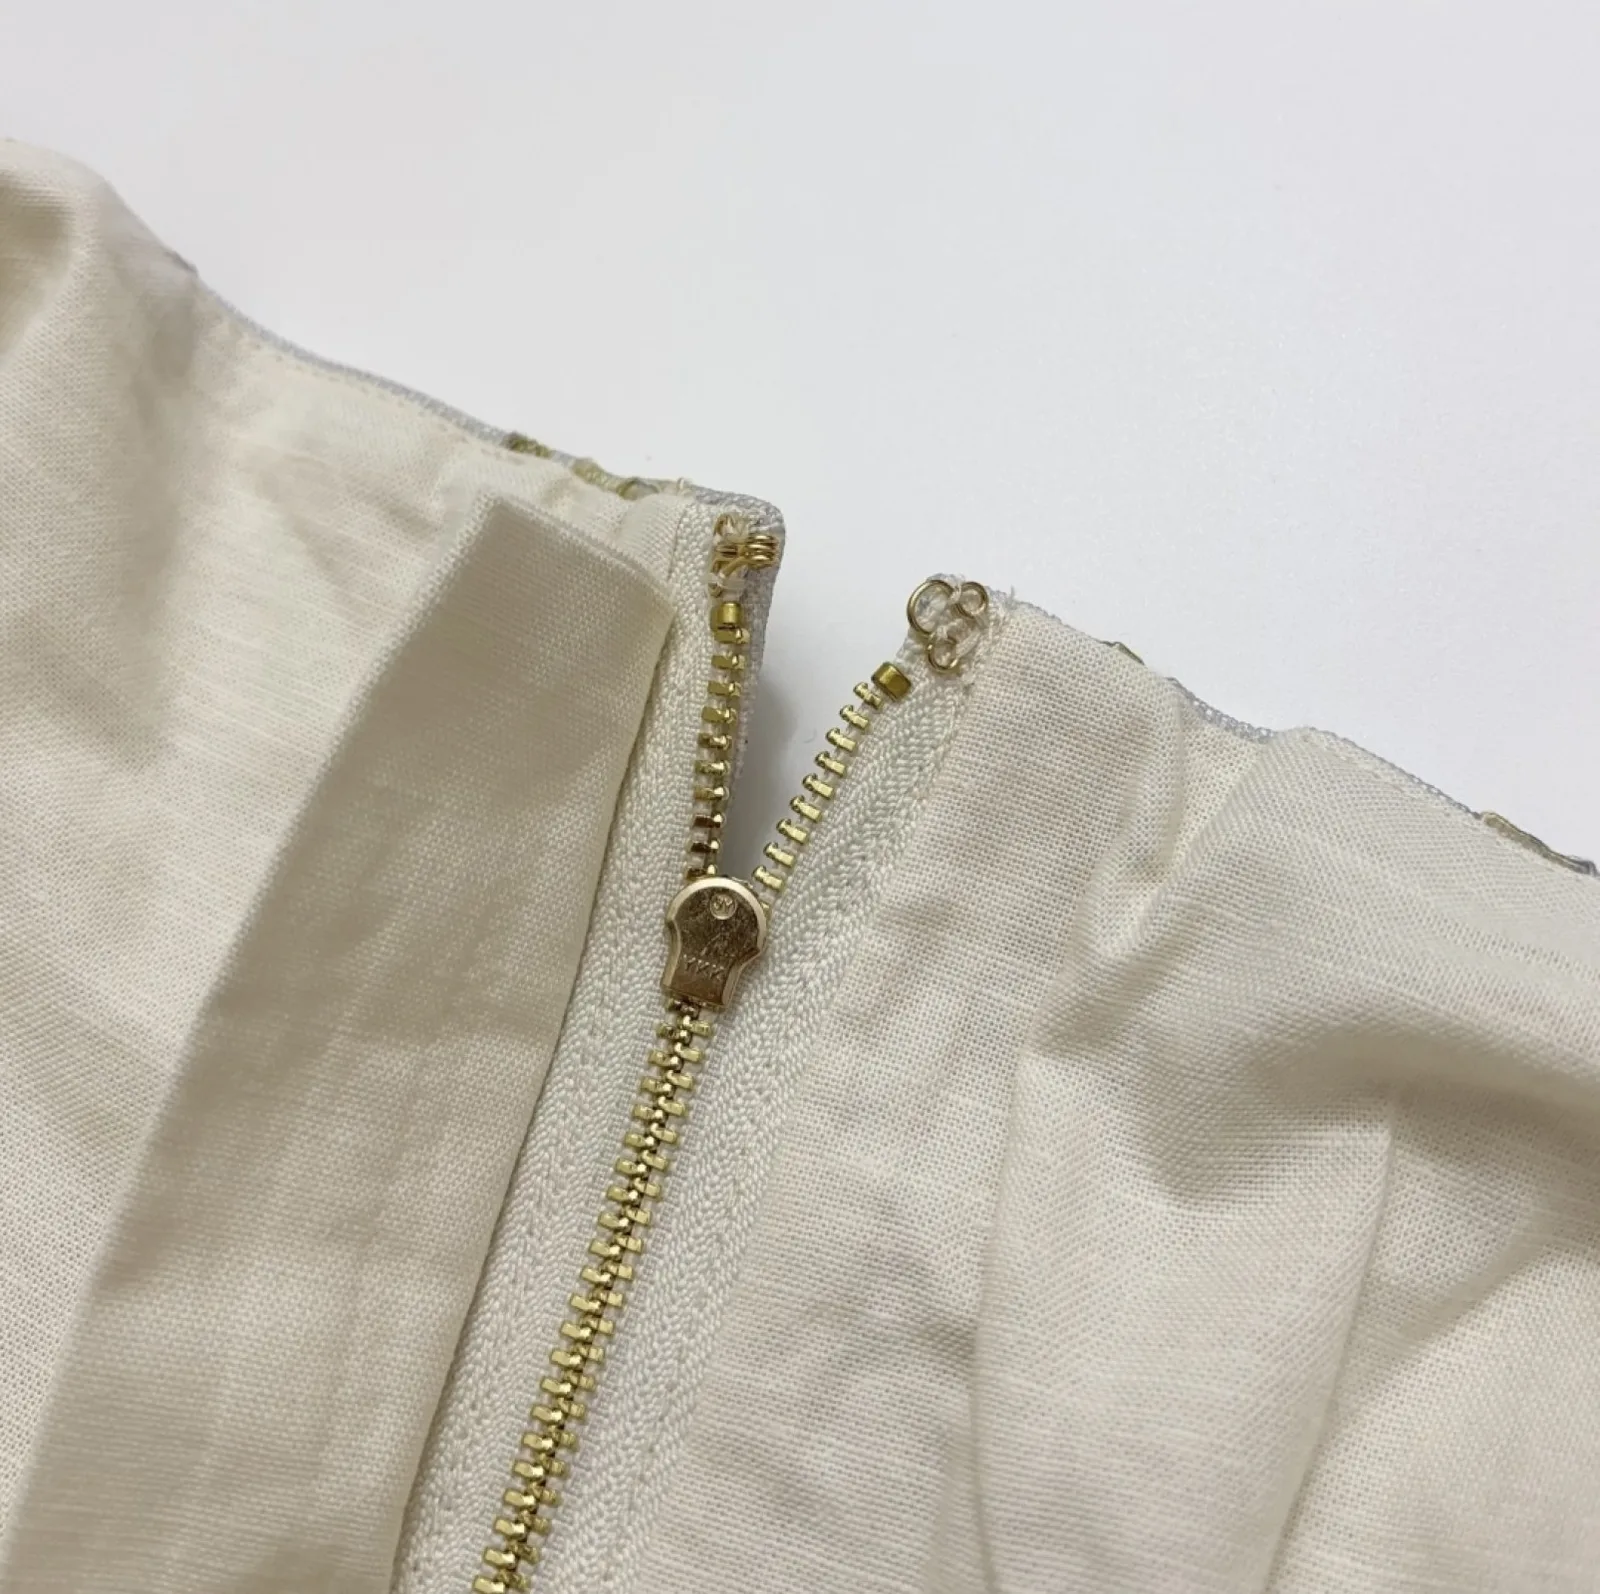
Identify whether the zip is exposed or concealed and whether the photographs show it open as well as closed. Look at the surrounding fabric, the top of the opening and the way the fastening meets a waistband or collar. A folded garment can hide those joins.
You cannot test the movement of a zip from a photograph. On arrival, operate it gently according to the design, keeping loose fabric clear. If it catches, stop and inspect rather than pulling harder. Questions about a faulty fastening should be raised with the seller while the garment can still be examined.
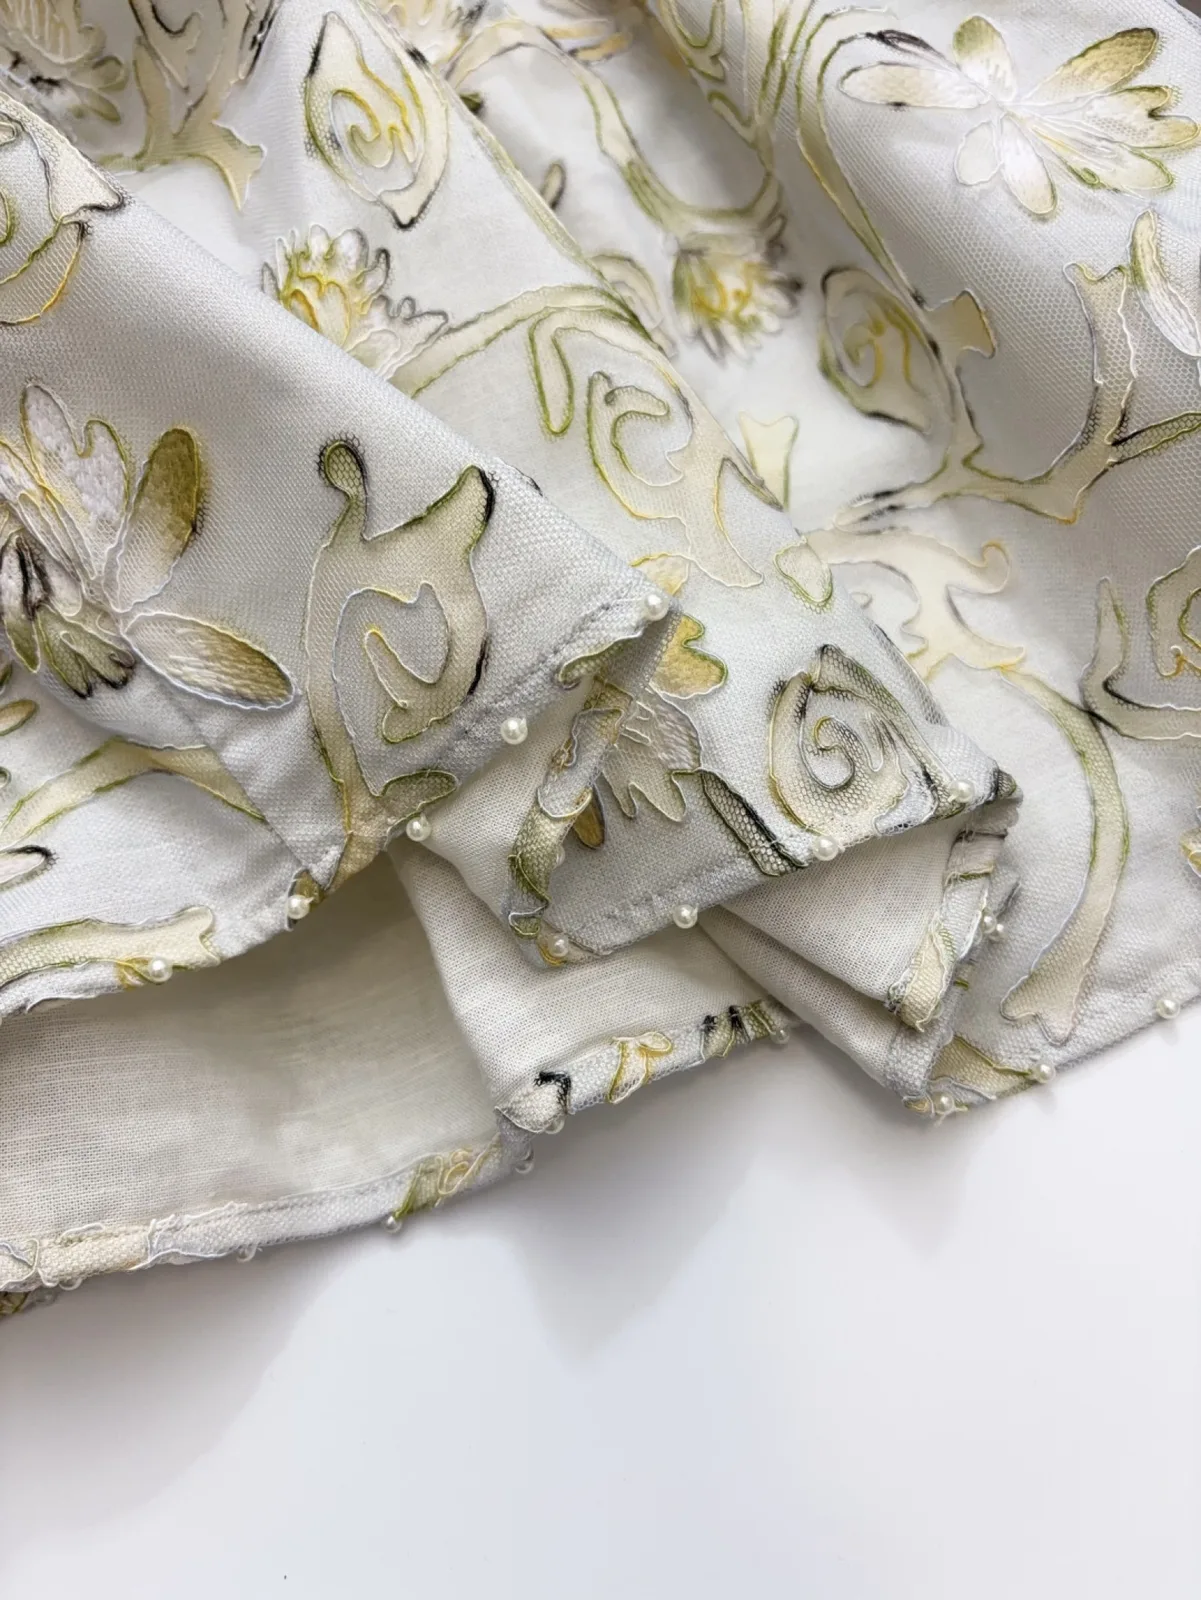
Look underneath the hem
A front photograph shows the length; a reverse or interior view helps show the edge. Check whether a narrow turn, binding, ribbed band or intentionally unfinished edge is described. Curved hems, lace and pleats may need different views to make their construction clear.
For lined garments, ask where the inner hem ends and whether a separate layer is attached. If the style depends on a raw edge or a visible seam, confirm that it is intentional. Do not mistake a design feature for damage, or assume that every uneven-looking edge is part of the design.
Ask for the missing view
A useful request names the location: the inside of the side seam, the top of the zip, the back of the cuff or the underside of the hem. It is easier to answer than asking whether the whole item is 'high quality'. Include the product link and colour so the photograph can be matched to the right piece.
Keep composition, fit and workmanship as related but separate checks. A clear label answers a material question; measurements help with size; close photographs explain visible construction. Together they make a better basis for a purchase than price, a fibre name or a polished campaign image alone.